
| SpaceClaim Online Help |
|
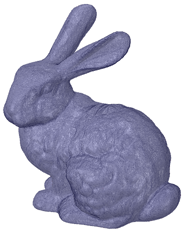
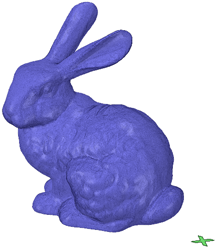
Printing the model above could take a long time and a lot of material, if the entire volume is filled.
Infill lets you shell the interior of a model and add an internal support structure. This provides strength while reduce material costs and printing time.
The tool has several options for controlling the size, shape and percentage of the volume filled.
 tool
toolSet the Thicken direction to Inside
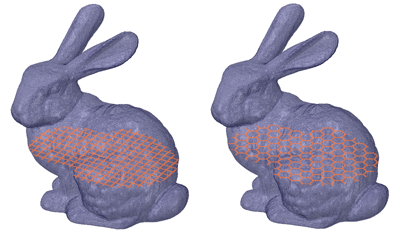
Mesh after it is shelled % - Percentage of the shell volume filled by material - Use the dropdown slider to drag the preview along its normal direction. Use the Reset button to go back to the previous locationThe images below show preview for Square and Hex Infill shapes.
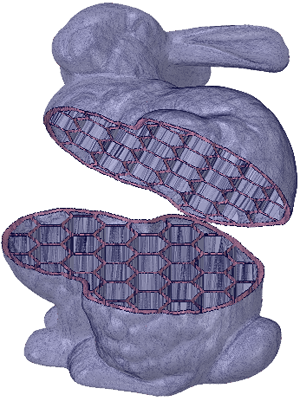
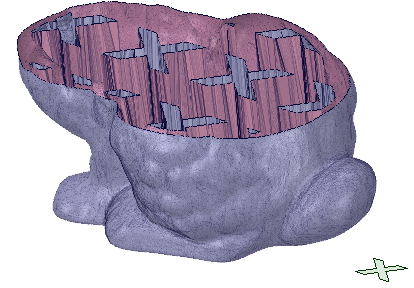
The image below shows the model shelled with a Hex infill. The body was split and moved to expose the Infill.
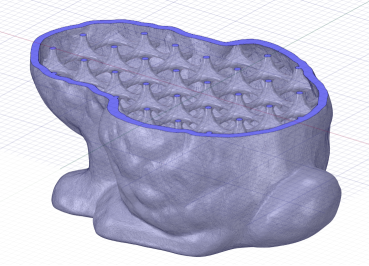
The image below shows the model shelled with a 3D lattice infill.
You can also use Custom shapes for the Infill. In the example below, the "X" shape will be used as a Custom Infill.
Set the Thicken direction to Inside
to Fit - Enter a length to scale the custom shape. Allows you to increase/decrease the size of the shape as needed.The images below show some examples.
| Shape scaled to fit a larger dimension and a large space between shapes |
|
| Shape NOT scaled to fit and a small space between shapes |
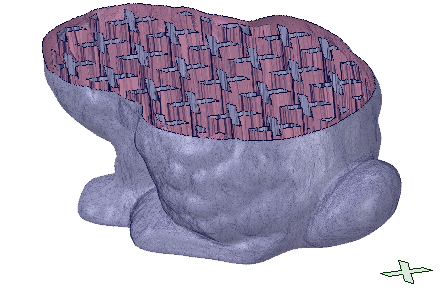
|
© Copyright 2016 SpaceClaim Corporation. All rights reserved.