


Simple Shell Tool Options
The following options are available to control how bodies are shelled:
| Inside | Remove material inside and leave a thin wall to the inside of the original body. |
| Outside | Remove material inside and leave a thin wall to the outside of the original body. |
| Thickness | Enter a value for the shell thickness in model units. |
| Keep original bodies | Create a new shelled faceted body and retain the original body. |
| Infill Type | Choose the type of infill structure to be created for adding strength to the shelled body when it is 3D printed. |
| Basic Infill | Choose the type of infill structure to be created for adding strength to the shelled body when it is 3D printed. |
| Use density attributes | Allows you to create variable Lattice Infills that distribute
material based on the Density Attributes from lattice optimization
workflows in Workbench. More
material is concentrated in regions of high density and less
material is in low density regions. Note: This
option is only available when the model contains Density Attributes
from Workbench. |
Example Using the Select Geometry Tool Guide
| A simple block will be shelled. | 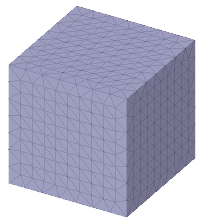 |
| Using the Select Geometry tool guide, the top face is selected for removal. | 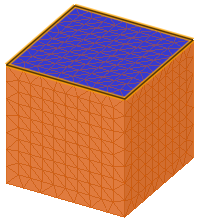 |
| Click Complete and the block is shelled with the top face removed. | 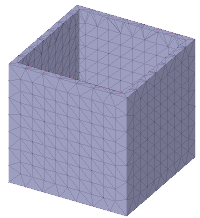 |
| You can also select facets to remove from the shell. Here, instead of removing the face, only the selected facets will be removed. | 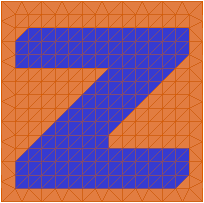 |
| Now the shell is a little more interesting. |  |
The Zoom Legend appears at the lower-right of the screen. If the zoom legend is on before entering this tool or is turned on while using this tool, it will remain on when exiting the tool.