


Shrinkwrap Examples
Using the Select Tight-Fit Faces or Facets tool guide
Use the Select Tight-Fit Faces or Facets
 tool guide to control
shrinkwrap facets in selected areas.
tool guide to control
shrinkwrap facets in selected areas.
The following simple example shows how the tool guide works.
| Click the Select Tight-Fit Faces or Facets tool guide and double-click the top face. This face will be tightly fit in the shrinkwrap. | 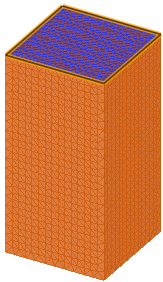 |
| Notice that the facets fit tightly on the selected face. It is important to note that the controlling effect falls off as a function of distance from the selected area. | 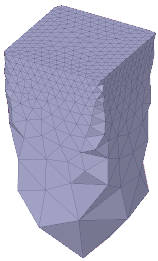 |
Using a Secondary Facet Size
Secondary size is more useful for refining the shrinkwrap to preserve the initial shape. An example is shown below.
| This faceted model has a distinct profile shape. |  |
| Using the default size and no Secondary size specified, Shrinkwrap produces a very rough approximation of the profile. | 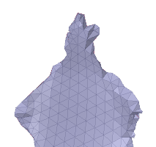 |
|
 |
| Click Complete and see that the secondary size follows the profile. | 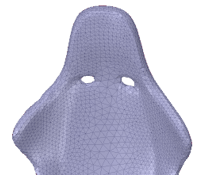 |
Using Shrinkwrap for Curvature Dependent Faceting
Use the Shrinkwrap options to make the triangles conform more to the shape with different sized triangles based on curvature.
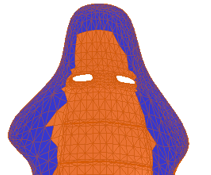
| Original faceting | 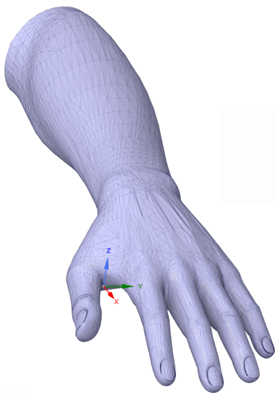 |
| Faceting after shrinkwrap using Max size and Curvature angle. Larger triangles can be seen on the forearm and smaller triangles by the nails where curvature is greater. | 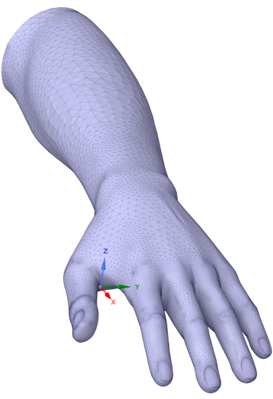 |